

Part I: Sewing with Fleece
This will be the beginning of a several part series to go over some general basics when sewing for your small pets. This lesson will cover sewing with polyester fleece. We will not be making anything specific in this lesson, but rather discussing some principles and techniques that you will need throughout your sewing journey to insure the safety of your pets.
For this discussion, I will be posting several examples of the “Do’s” and “Don’ts” of sewing with fleece.
- Selecting your Fabric
While fleece may not be the easiest material to sew with, generally speaking, it is typically considered the best, most “fool proof” material to begin using when sewing for small pets. This is because fleece is sturdy, slightly stretchy, non-woven fabric that will not fray when cut or torn. When choosing your fleece, you will notice there are several brands or varieties. The most commonly found are Anti-Pill, Blizzard, and Glacier. When making a selection for your projects, it is not as important which brand you choose, as it is to asses the overall quality of each piece. Your fabric should be nice and thick and not too stretchy. If you pull the material with the direction of its stretch, it should not be so thin as to show light through the fibers.
- Machine Settings
All sewing for small pets should be done with a machine. Even if you are very skilled with hand sewing, you will not be able to obtain the tension and small stitch length that is required for ultimate safety. One of the main goals with pet-safe sewing is to ensure that the risk of entanglement by thread is reduced as MUCH as possible. Serious to grave injuries can and do commonly occur where loose, uneven, or stray threads are present. No one wants to see their pet injured or worse when the risk is easily preventable.
- Stitch length: Your machine should be set to approximately 1.5 to 1.8mm. If you have an analog machine, you can adjust your stitch dial to somewhere between 1 and 2. You want your stitching to be fine and tight, but not TOO small. If your setting is too small, your threads may bunch and clump, causing raised areas in the stitching which are also hazards. Experiment with your individual machine to get the best results possible. It may also be necessary to increase your stitch length a small amount when sewing multiple layers of fabric. The thicker the fabric, the longer the stitch length.
- Tension: For most machines, a tension setting between 4-6 is best for fleece. This will again depend on your individual machine. Adjust your settings so that the top and bottom threads pull evenly and lay neatly indented into your sewing.
- Needle Type: For fleece, it is best to use sharp needles such as a denim/jeans needle, or a universal needle. Rounded tip needles like stretch or ball point needles won’t sew as cleanly.


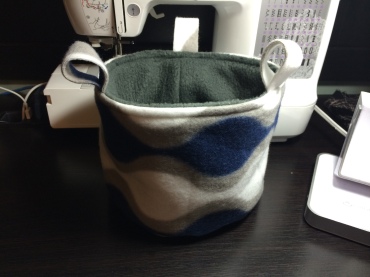


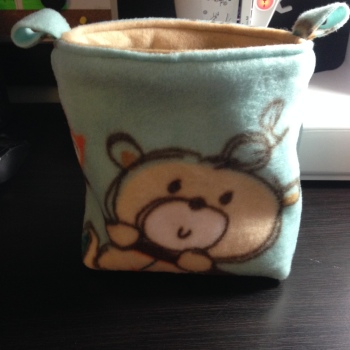 hidden seams for your small furry friends. These pouches work great as sleeping pouches, cuddle sacks, lap sacks, or just about whatever for all sorts of snuggly buddies in your life. I make them for my sugar gliders, but you can vary the size to make them for ratties, hedgies, guinea pigs, or even your pups if you enlarge it. This design is very basic, so there are many possibilities if you tinker with it. I highly suggest experimenting with the dimensions to see what works best for you!


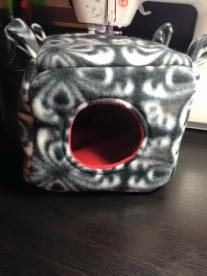 A step-by-step photographic tutorial for making a sleeping cube for pet sugar gliders, rats, hedgehogs, or other small pets. This tutorial will teach you how to safely make the cube pictured to the right here. This is a simple project that can be completed with your sewing machine and just a few pieces of fleece.


